Sentinel CS-20 Installation Instructions
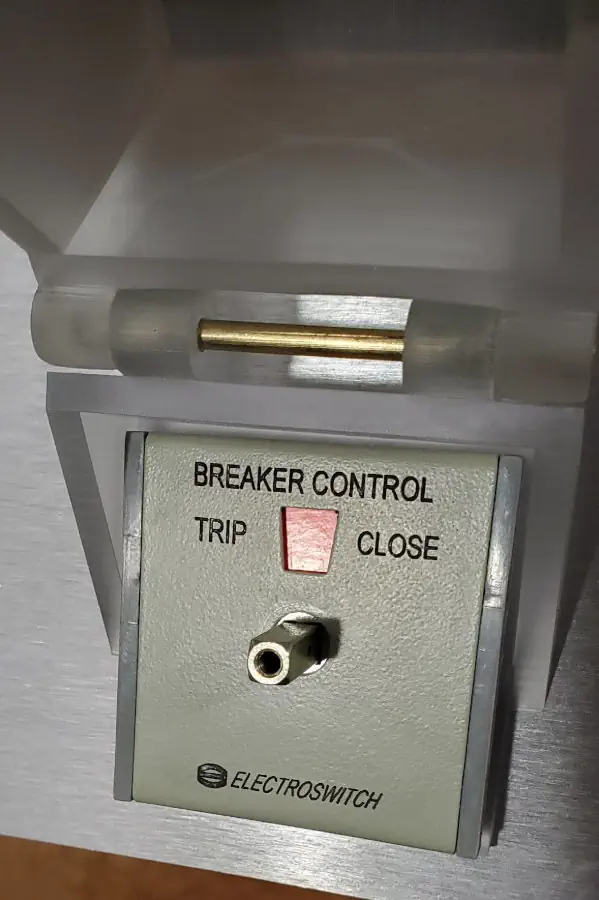
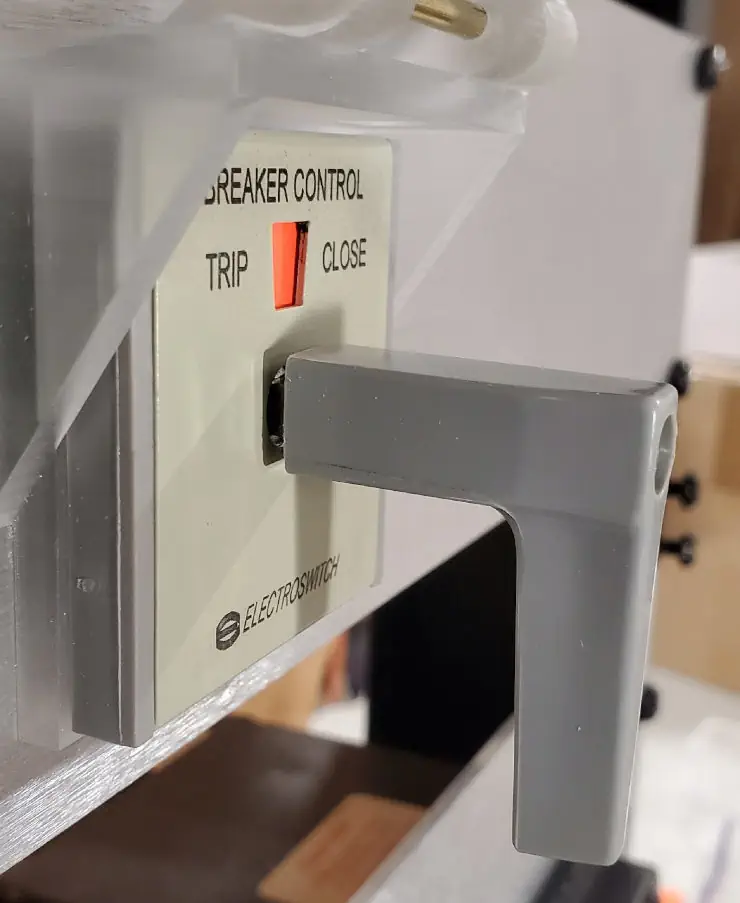
Learn how to properly install the Sentinel CS-20 Control Switch Safety Cover on the Electroswitch 20KD-38 breaker control switch.
Easy Installation
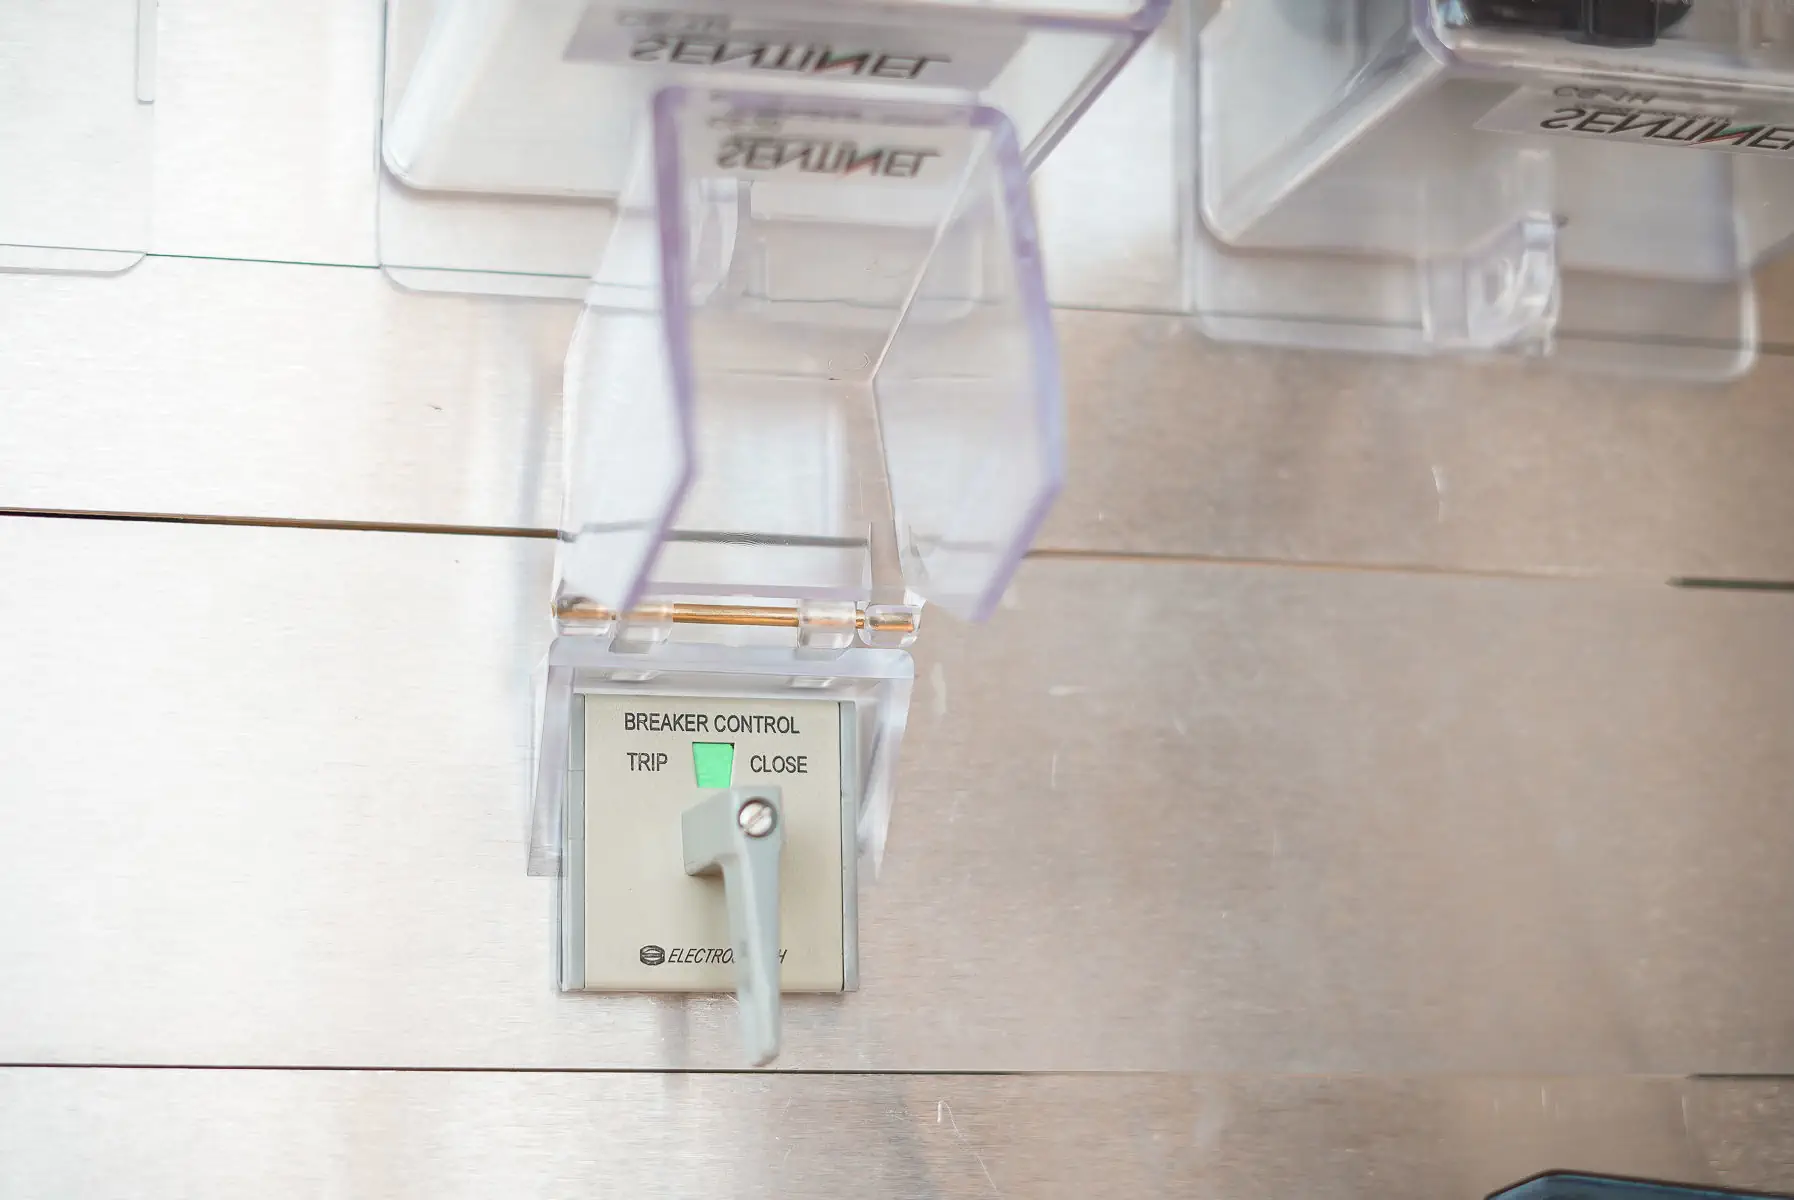
The Sentinel CS-20 can be installed in minutes and does not require any drilling, disturbing of the switch wiring, or removal of the control switch from the panel .
What’s in the Box
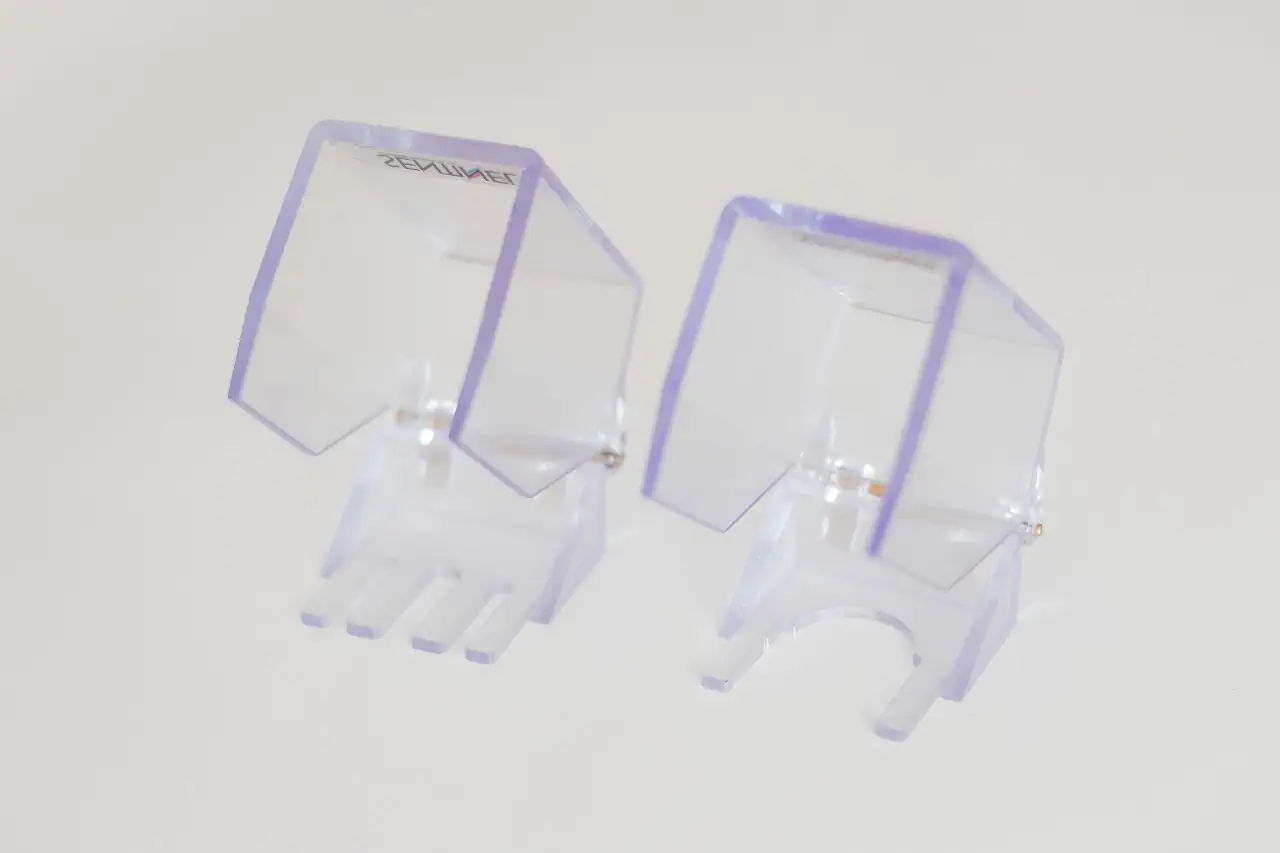
The Sentinel CS-20 is supplied as a one-piece kit. You will mount the CS-20 between the control switch escutcheon plate and the panel. Back off the existing mounting screws far enough to slip the two mounting base pieces under the plate and then tighten the screws once again. Longer screws are supplied if needed.
Allow a minimum of ½ ” above the control switch escutcheon plate to allow sufficient space for the CS-20.
The CS-20 is intended for indoor use only.
(Sentinel CS-20 for Electroswitch 20-KD (left) and Industry Standard 30mm (right))
Installation Instructions
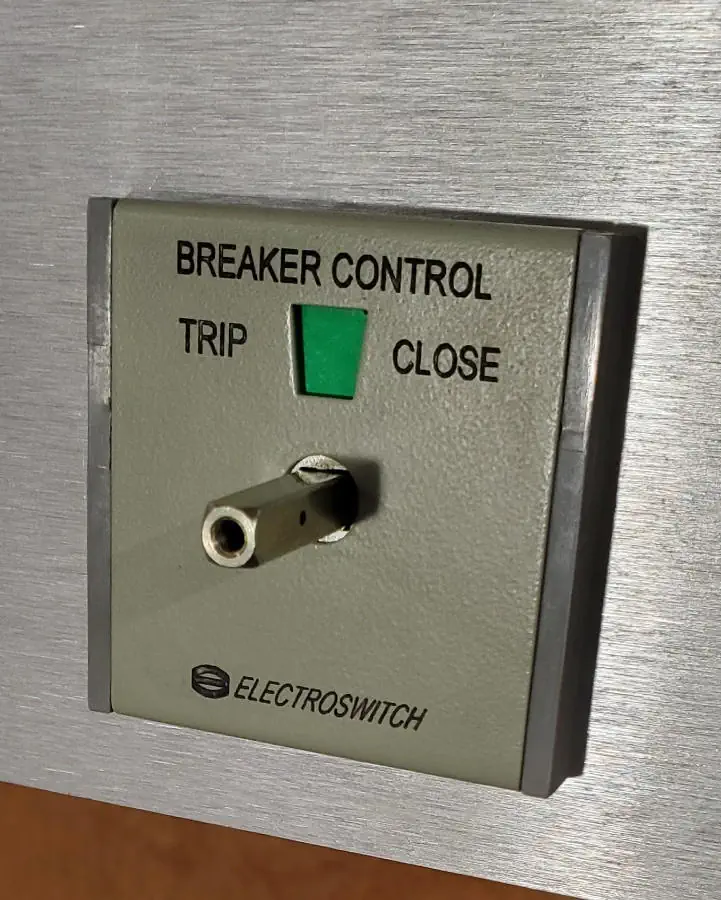
Carefully Remove the Pistol Grip Handle
The first step in the installation process is to remove the control switch pistol grip handle. Ensure the control system is not active and operation of the handle will not operate the system with and undesirable result. To do this, you’ll need a firm grip on the handle, then remove the screw and pistol grip handle.
Note: Only qualified persons who are familiar with the control system should install the CS-20.
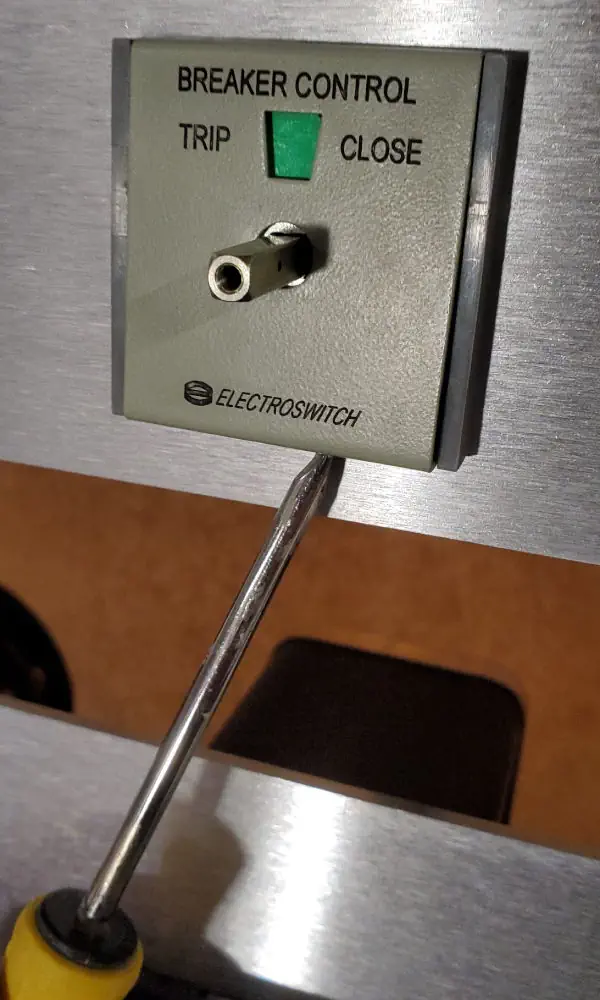
Remove the Escutcheon Plate
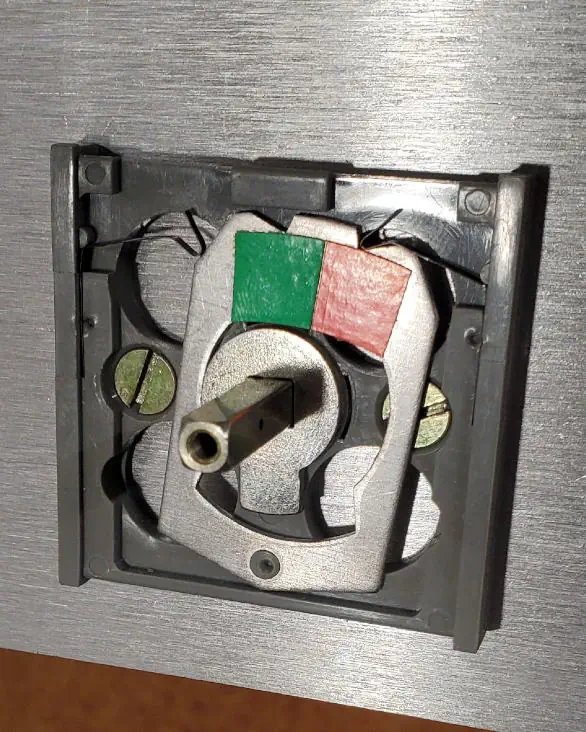
Use a flat blade screwdriver to remove the escutcheon plan. A slight twist of the screwdriver should release the plate, then remove it from the rest of the assembly.
Replace the Exsiting Screws
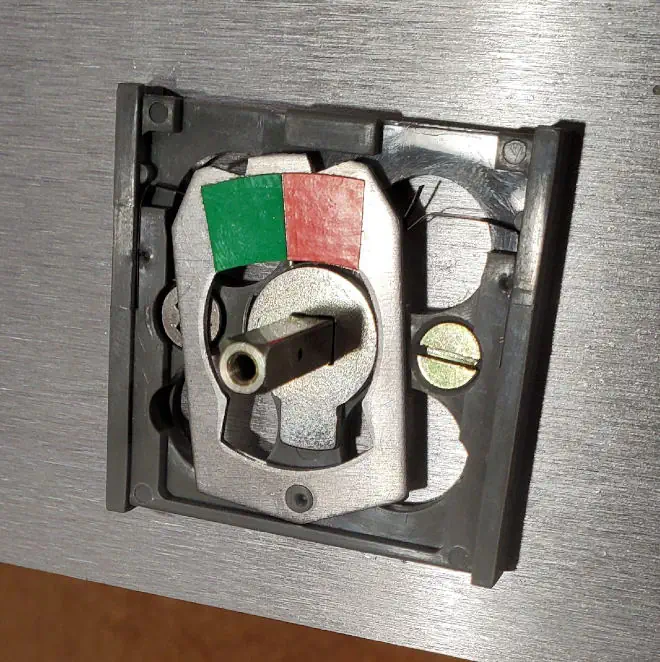
From here, you will replace the existing screws with the provided screws. These are 1/8″ longer to accomodate for the added thickness that will be created by the back of the Sentinel CS-20.
Once the first screw is removed, shift the indicator mechanism to the opposite position to gain access to the second screw.
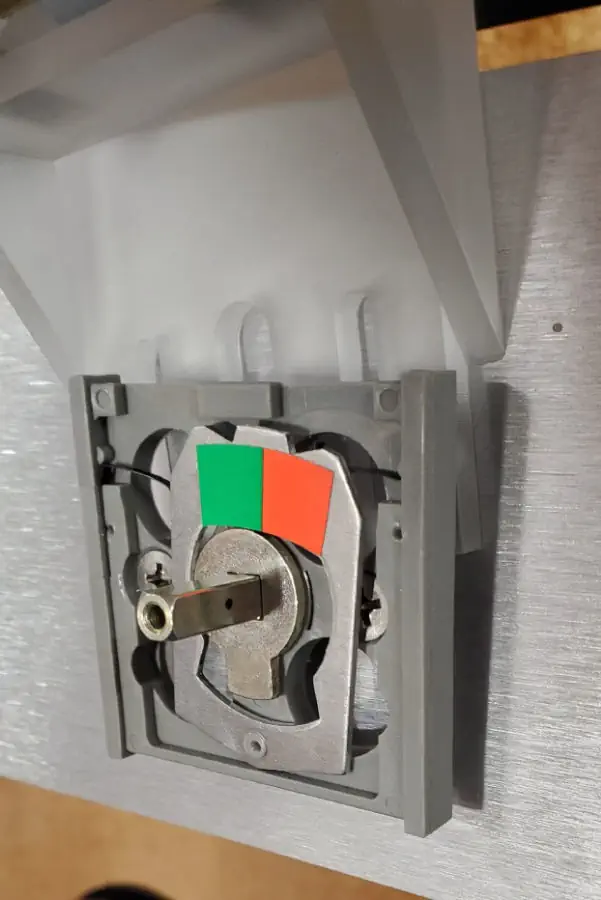
Install the Sentinel CS-20 Cover
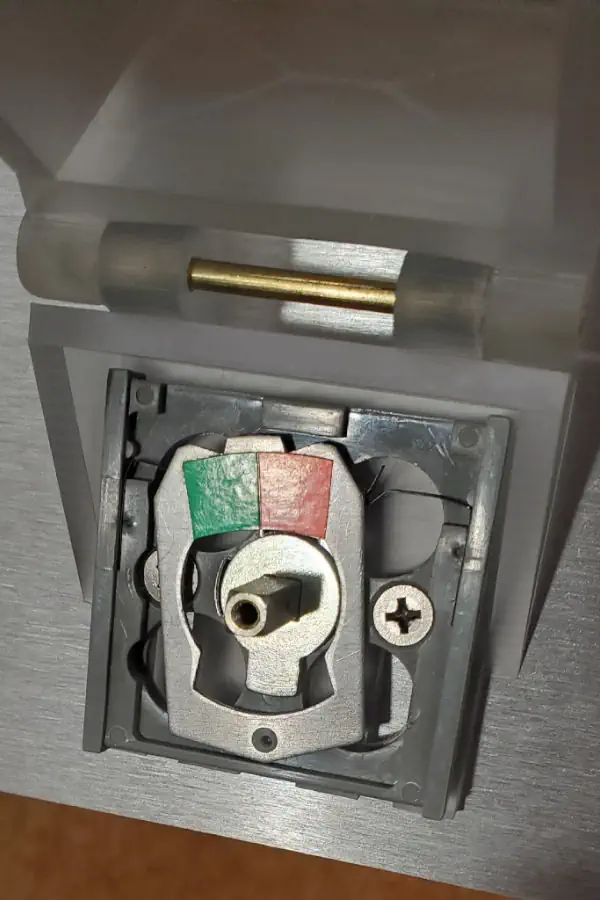
With the new screws installed but not tight, slip the CS-20 cover between the switch plate and the panel.
Align the cover to the switch and tighten the screws. Leave a slight gap between the top of the switch and the CS-20 to re-install the escutcheon plate.
Test the Operation of the CS-20 and Re-Install the Cover Plate
Finally, you will want to check to make sure the CS-20 cover operates freely. Adjust as required and re-install the cover plate.
Re-Install the Pistol Grip Handle
Re-install the pistol grip handle. Check for clearance between the pistol grip handle and the escutcheon plate when the screw is tightened.
A small amount of material can be removed from the base of the handle to ensure free movement. If required, this is best done at a disc or belt sander.
Congrats! The Sentinel CS-20 is Installed and Ready
The Sentinel CS-20 is now ready to help protect the “Electroswitch” 20KD from accidental operation.
Questions?
If you have any questions regarding our control switch safety cover installation, please reach out to us via phone or on our contact page. We are happy to provide you with more information about the Sentinel CS-20 and proper cover installation.

