Sentinel CS-1 Installation Instructions
Learn how to properly install the Sentinel CS-1 to protect, lock out, and tag out rotary control switches.
Easy Installation
The Sentinel CS-1 can be installed in minutes and does not require any drilling, disturbing of the switch wiring, or removal of the control switch from the panel . We think you’ll be pleasantly surprised with how easy it is to install the CS-1.
What’s in the Box
The Sentinel CS-1 comes with three parts:
(1) the main switch cover,
(2) the top switch lock, and
(3) the bottom switch lock.
In addition, you will find six 10 x 32 machine. screws in your kit. If needed, these will replace the stock mounting screws, allowing for the extra width created by the top and bottom switch lock. The Long screws are for LED escutcheon plates and the short screws are for when you have the standard escutcheon plate.
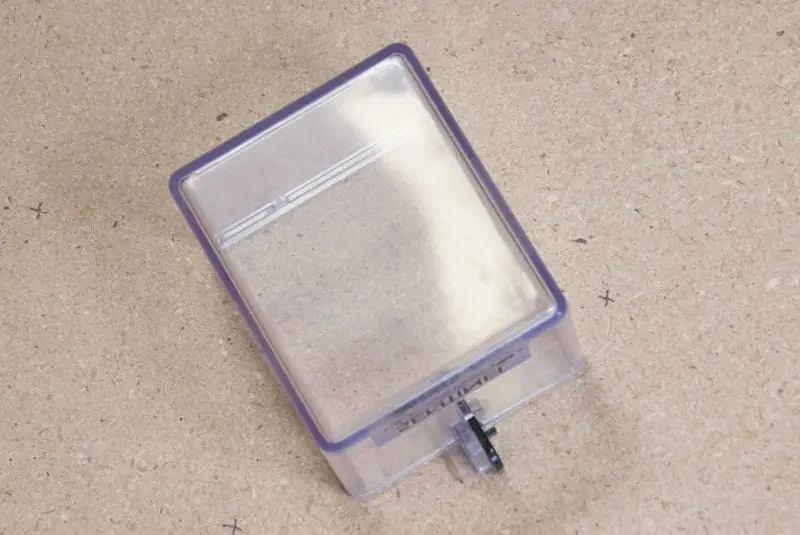
Main Cover
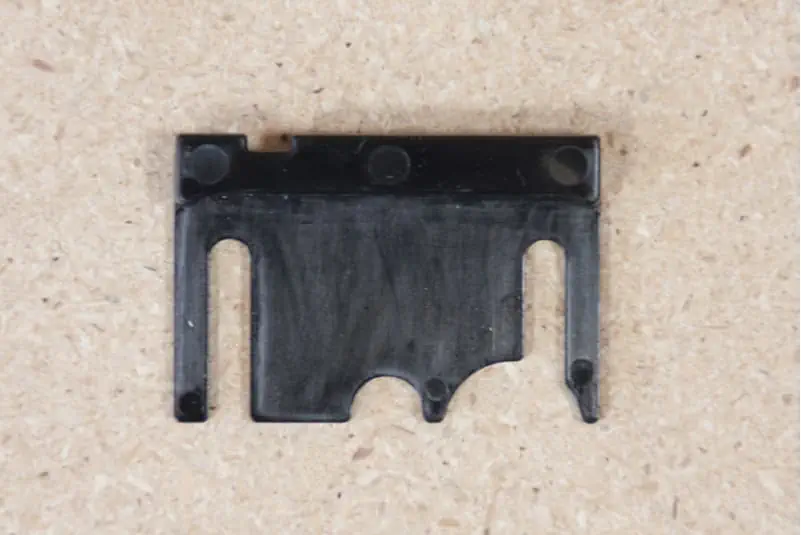
Top Switch Lock
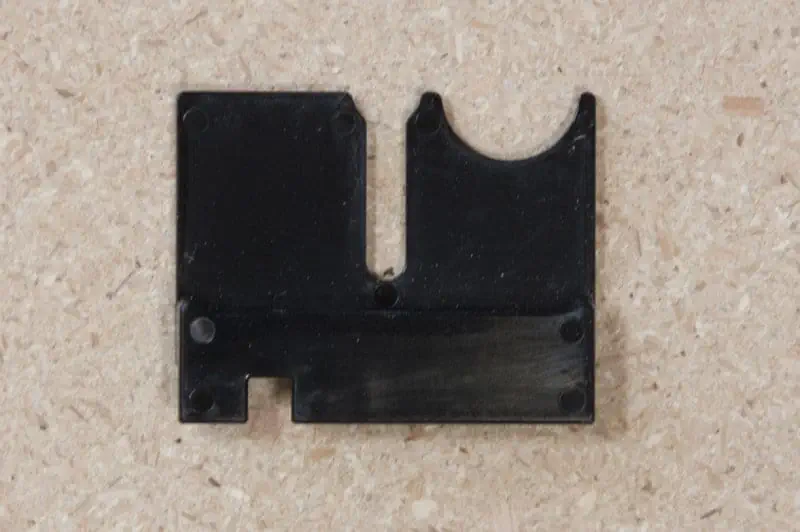
Bottom Switch Lock 3 2
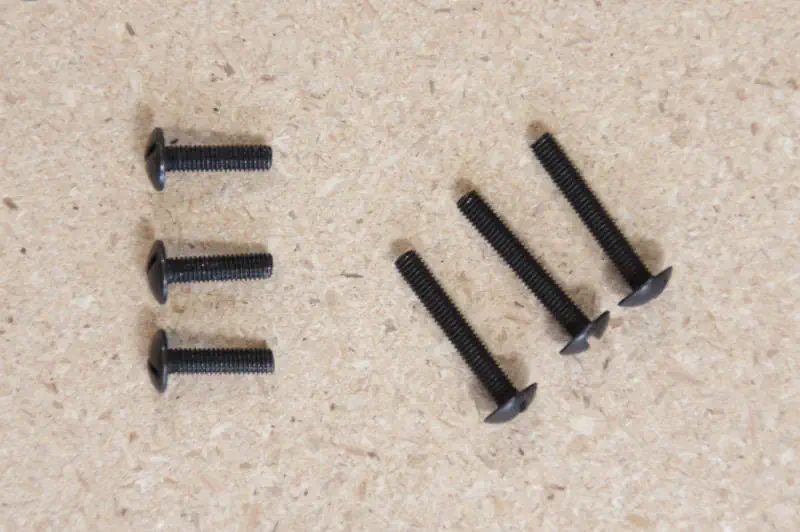
Extra Screws
Installation Instructions
(LED Escutcheon Plate shown)
Remove the Control Switch Pistol Grip Handle
The first step in the installation process is to remove the control switch pistol grip handle. Care should be taken not to move the handle in an undesired direction. To do this, you’ll need a firm grip on the handle, then remove the screw that holds the handle.
Note: Only qualified persons who are familiar with the control system should install the CS-1.

Replace the Mounting Screws
Next, one at a time, remove the mounting screws from the control switch and replace them with the longer screws we provide in your kit. During this time, you should not tighten the screws down all the way.
On certain installations where the indicating lights are close to the switch, you may choose to temporarily leave one screw out to facilitate installation of the top lock.

Install the Top and Bottom Switch Locks
From here, you will place the top and bottom switch locks between the escutcheon plate and the panel, starting with the top switch lock. Once both switch locks are in pace you can tighten the new mounting screws. If you left out one of the upper mounting screws, this is the point at which you will want to install it.


Install the Main Cover
Install the clear main cover. You should begin by sliding the bottom of the cover under the bottom switch lock, then rotating the cover over the top switch lock. This ensures the top of the cover will smoothly go over the top switch lock.

Test the Locking Tab
Finally, you will want to test the locking tab, as this will prevent the main cover from unlatching when it is locked. You can adjust the bottom switch lock as needed, then tighten the screws a final time.

Replace the Control Switch Handle
Replace the control switch handle and you are ready to use the CS-1 control switch cover. Care should be taken not to move the handle in an undesired direction.

Questions?
If you have any questions regarding our control switch safety cover installation, please reach out to us via phone or on our contact page. We are happy to provide you with more information about the Sentinel CS-1 and proper cover installation.