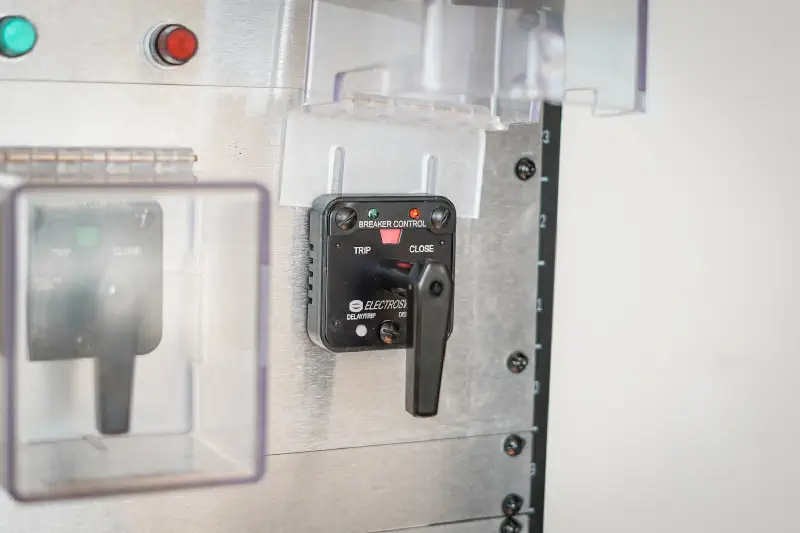
Sentinel CS-1Hinge Installation Instructions
Learn how to properly install the Sentinel CS-1Hinge Control Switch Safety Cover in minutes.
Easy Installation
The Sentinel CS-1Hinge can be installed in minutes and does not require any drilling, disturbing of the switch wiring, or removal of the control switch from the panel .
What’s in the Box
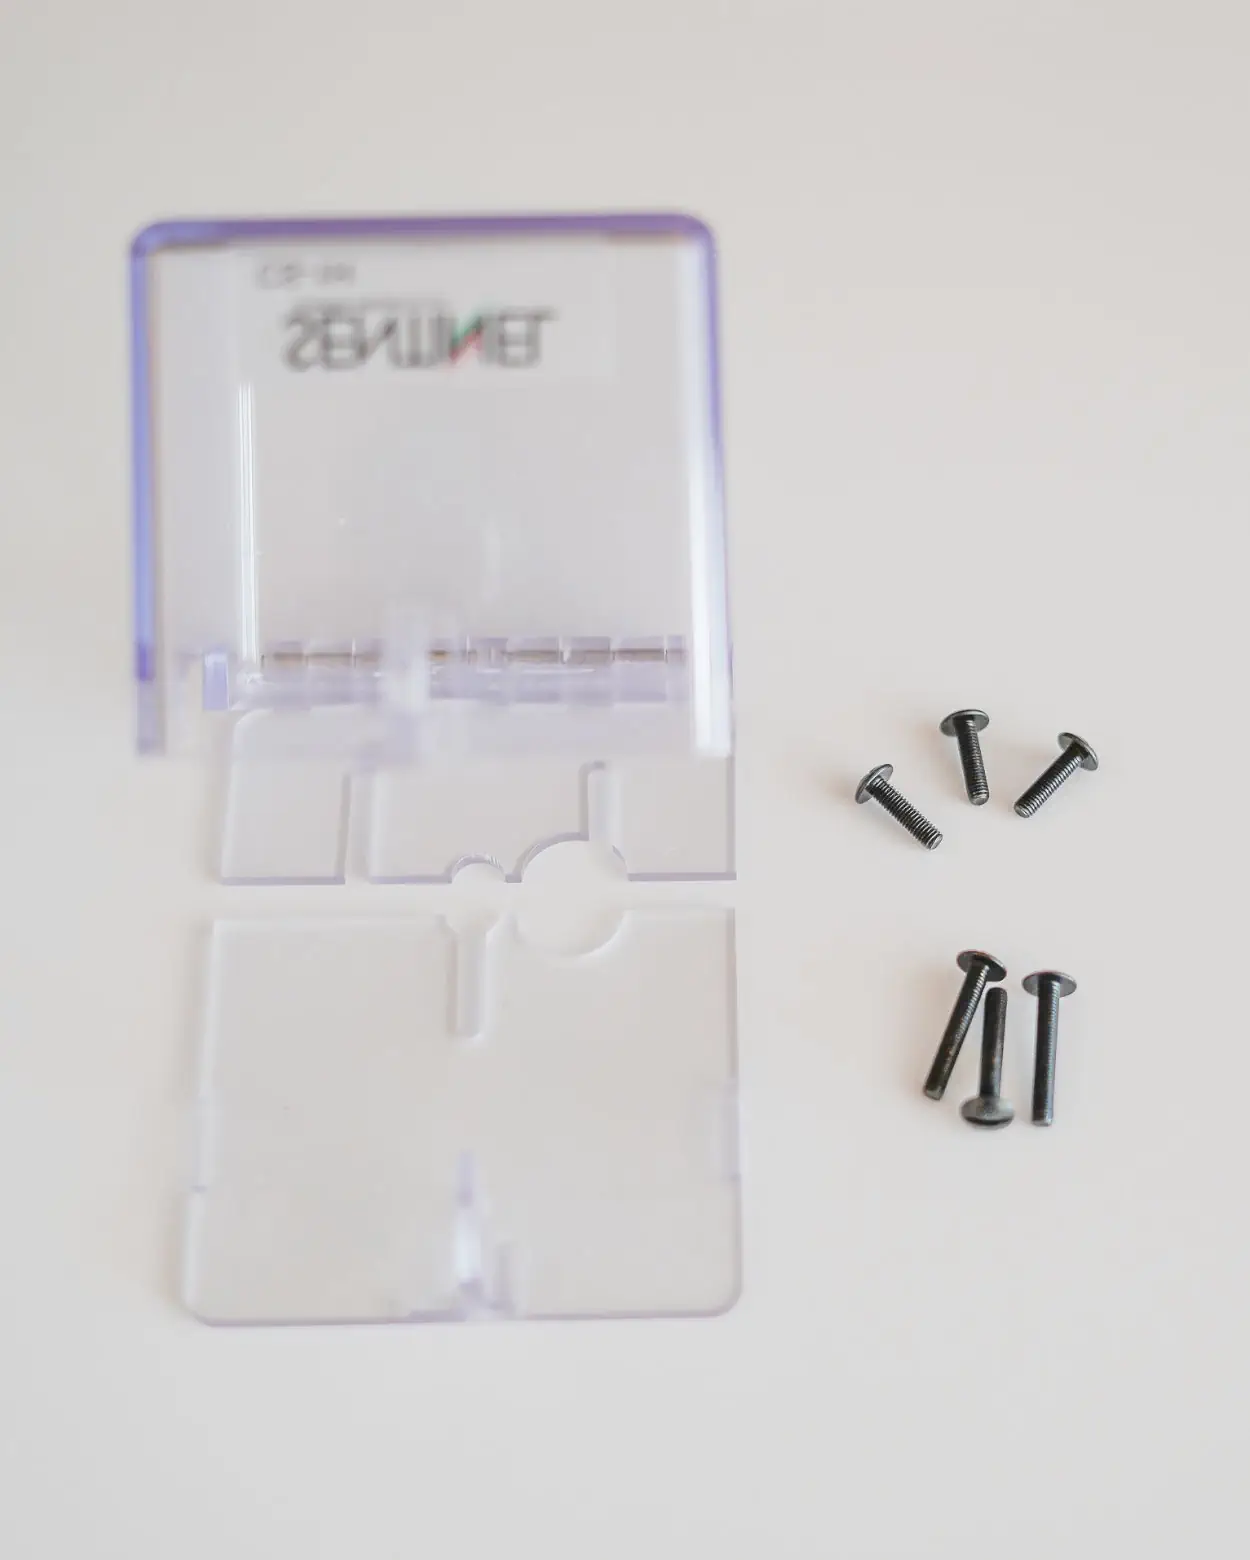
The Sentinel CS-1Hinge comes with two parts: the main switch cover with hinge, and the bottom locking plate. In addition, you will find six 10 x 32 machine screws in the kit. If needed, these will replace the stock mounting screws, allowing for the extra width created by the top hinge plate and bottom lock plate. Which screw length used is determined by the type of escutcheon plate of the switch.
Note: Only qualified persons who are familiar with the control system should install the CS-1Hinge.
Allow a minimum of 3/4 ” above the control switch escutcheon plate to allow sufficient space for the CS-1Hinge.
The CS-1Hinge is intended for indoor use only.
Installation Instructions
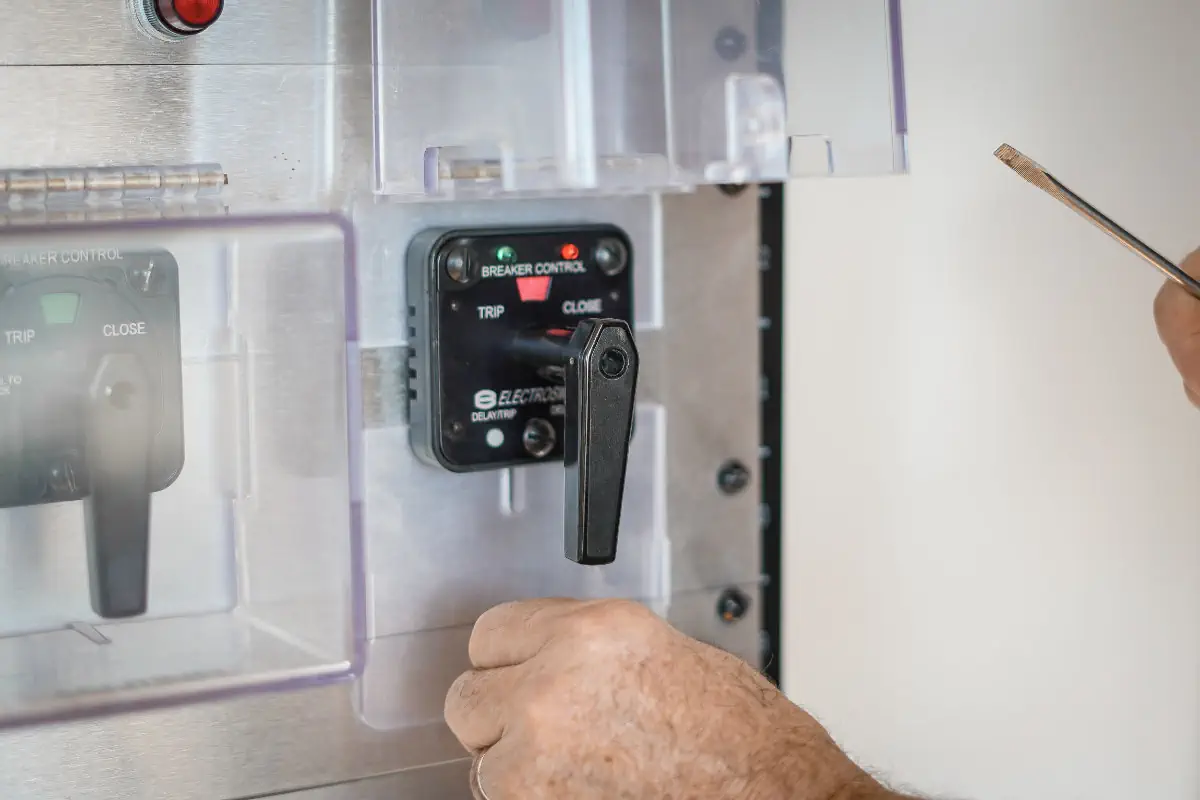
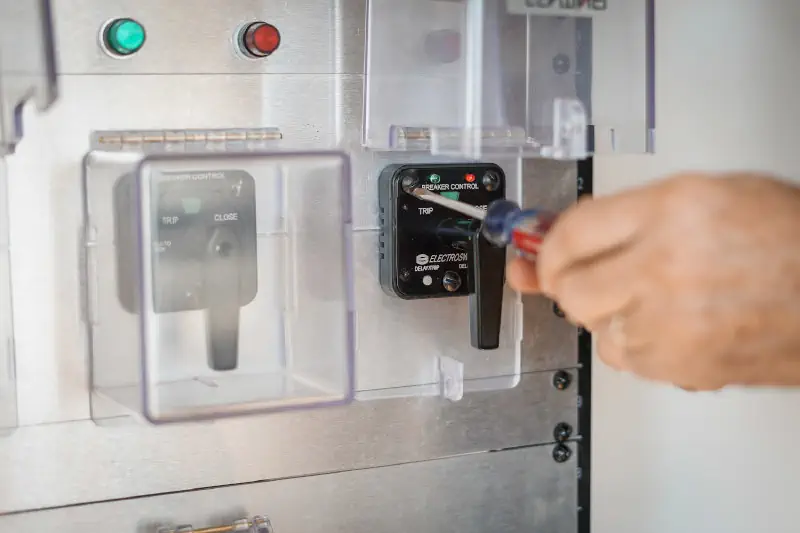
Carefully Remove the Switch Handle
The first step in the installation process is to remove the control switch handle. Care should be taken not to move the handle in an undesirable direction. To do this, you’ll need a firm grip on the handle, then remove the screw that holds the handle.
Tip: This is not always necessary. But care should be taken when removing the bottom screw and not disturbing the handle
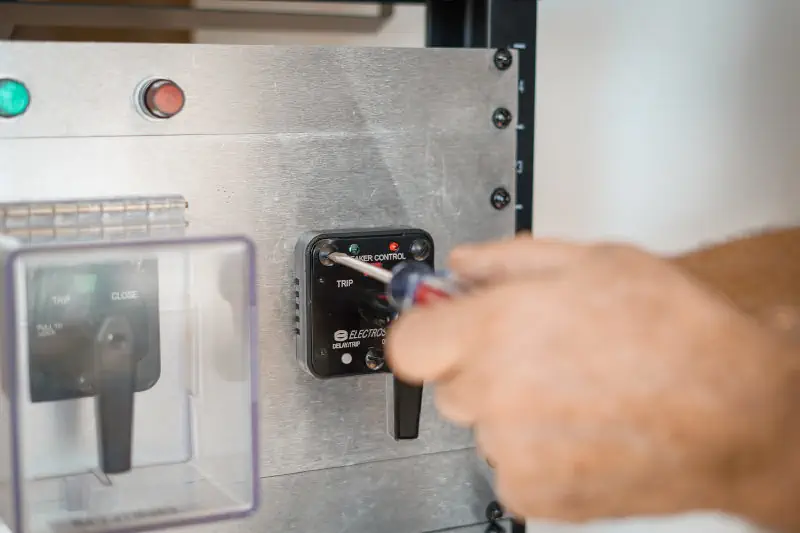
Replace mounting screws with longer ones
Next, one at a time, remove the mounting screws from the control switch and replace them with the longer screws we provided in your kit. Do not tighten the screws down at this time.
Tip: If the indicating lights are close to the switch, you may choose to temporarily leave one screw out to facilitate installation of the main switch cover with hinge.
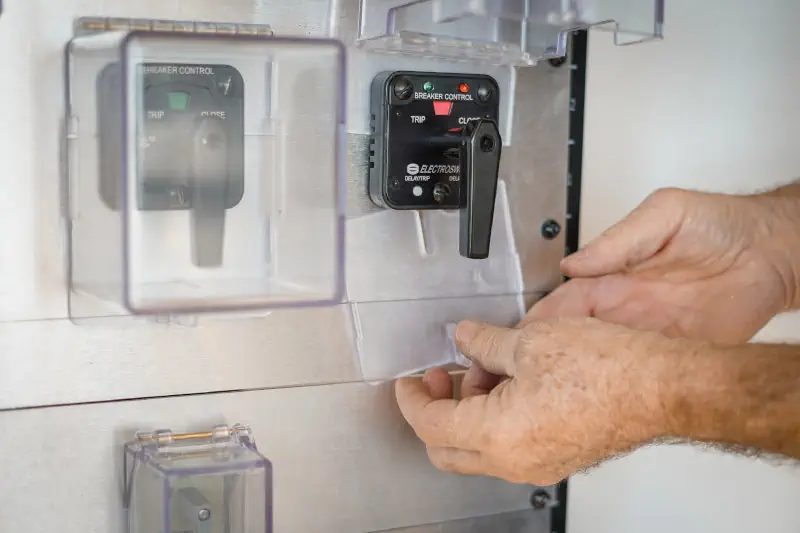
Place the “Main Switch Cover with Hinge”
From here you will place the “Main Switch Cover with Hinge” between the escutcheon plate and the panel.
Then, install the bottom lock plate. Check for alignment and tighten the screws.
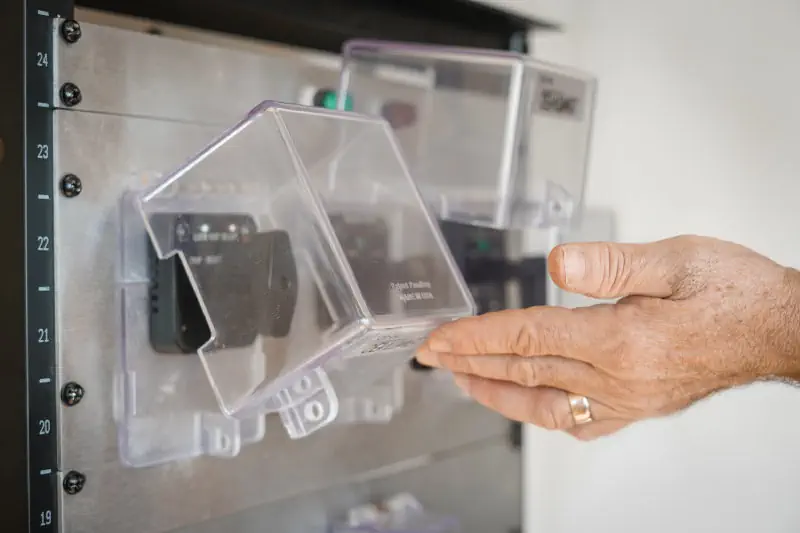
Test the Operation of the CS-1Hinge and reinstall handle
Ensure the cover operates smoothly and the holes on the locking tabs align properly.
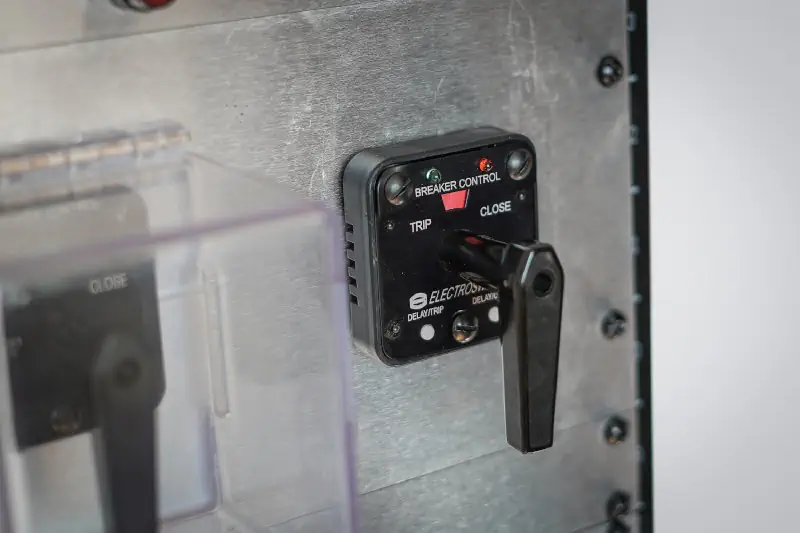
Carefully replace the Control Switch Handle.
Congrats! The Sentinel CS-1Hinge is Installed and Ready
Check to ensure there is clearance between the handle and the escutcheon plate of the control switch.
You are ready to use the CS-1Hinge Control Switch Safety Cover.
Questions?
If you have any questions regarding out Control Switch Safety Covers and their installation, please reach out to us via phone or on our contact page. We are happy to provide you with more information about the CS-1Hinge and proper installation.

